Product Design, Digital Fabrication
Skills: Woodworking, 3D printing, CNC machining
Tools: Rhino 7, Meshmixer
Tools: Rhino 7, Meshmixer
Heirloom: Record Player & 3D Printed Record
“Would you be proud of me, if you saw me now?”
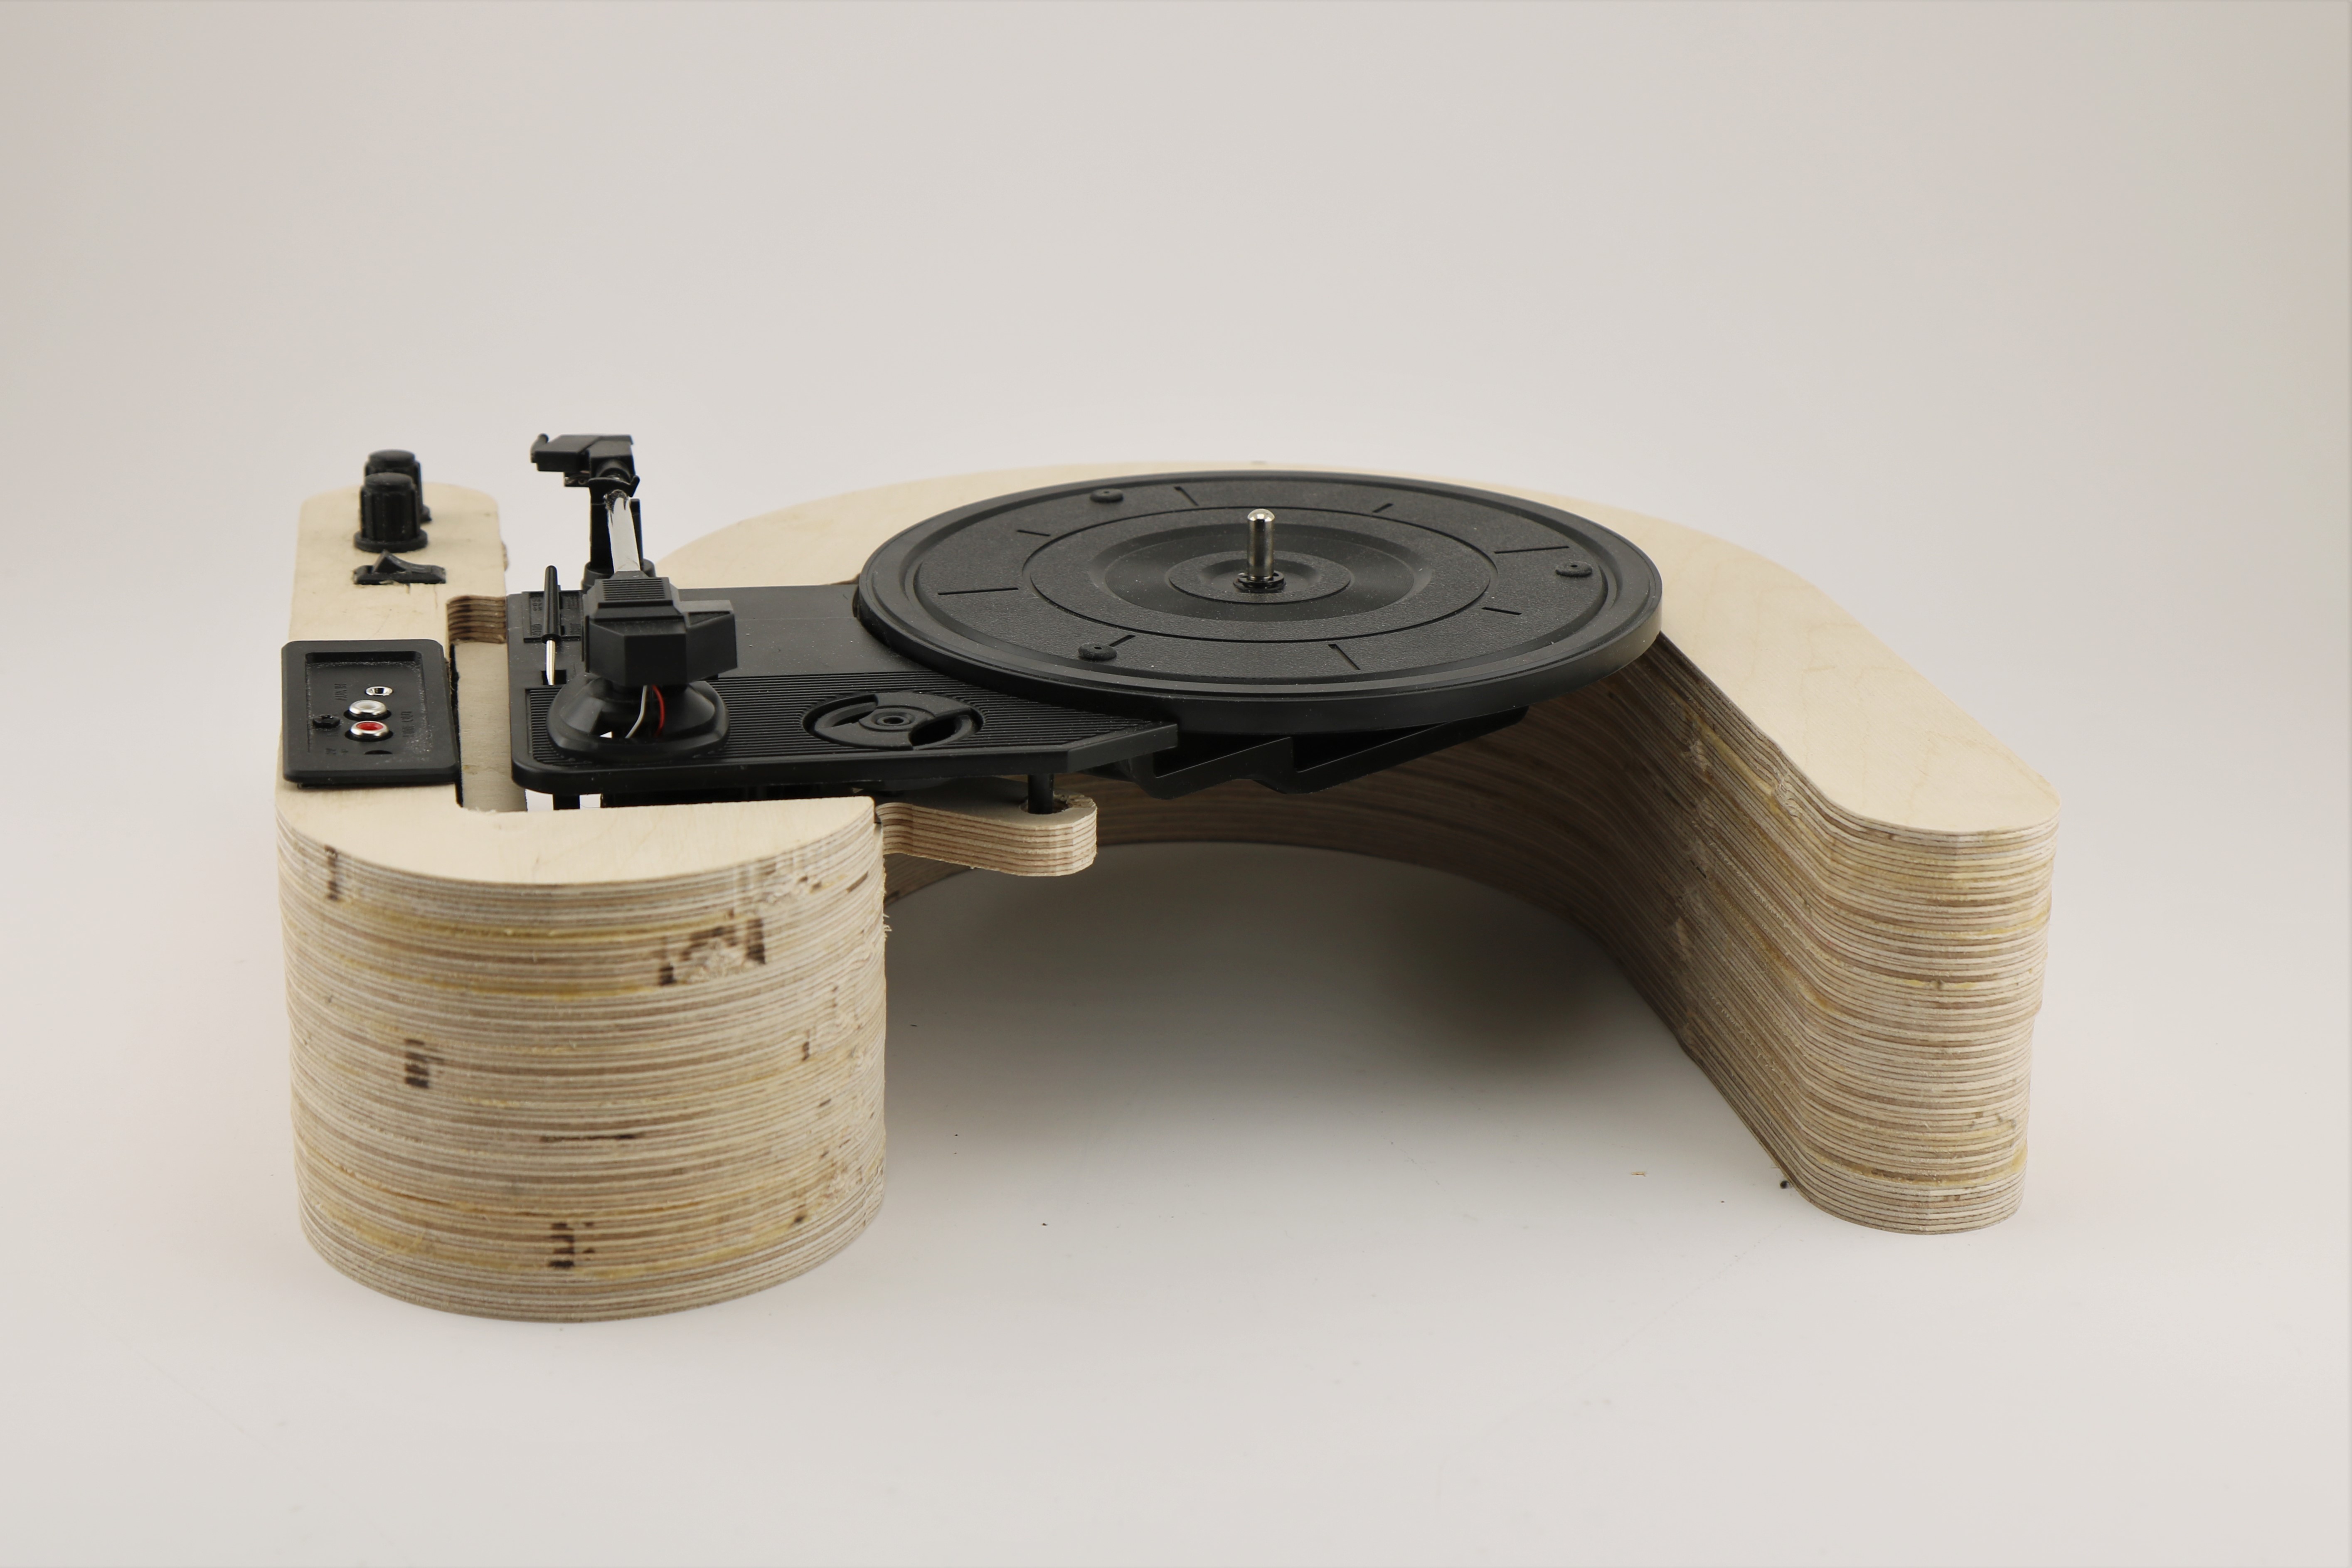
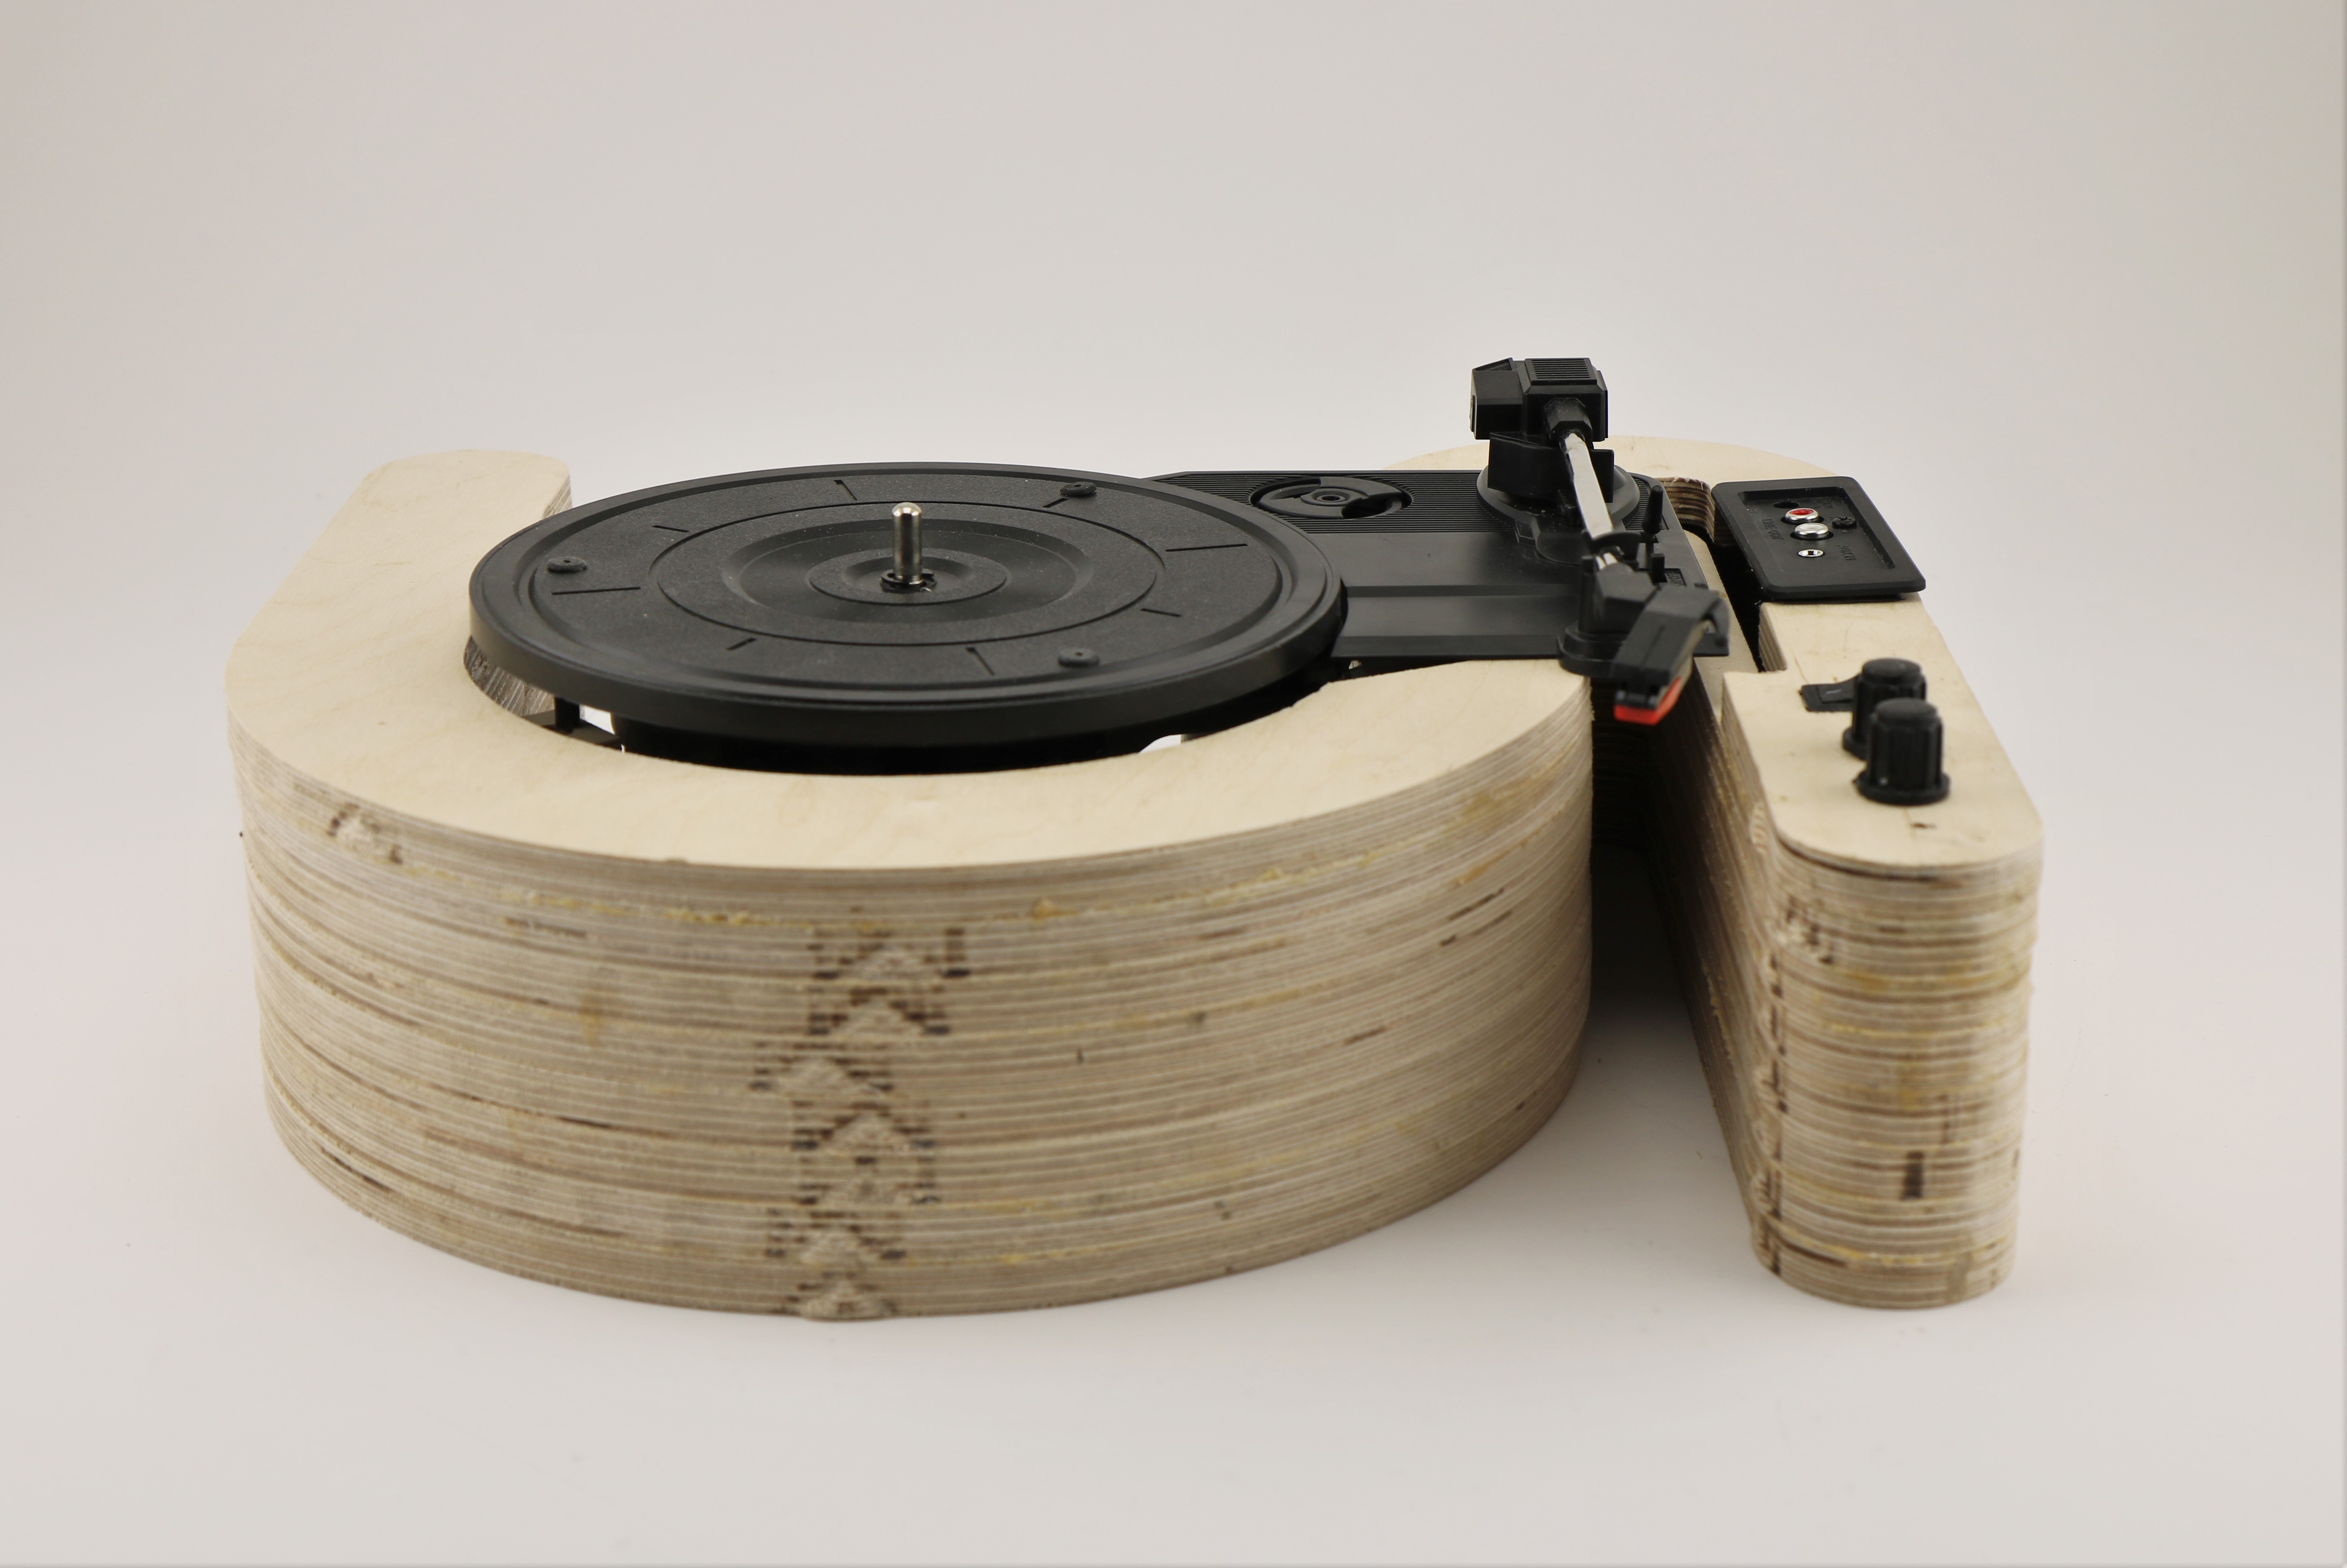
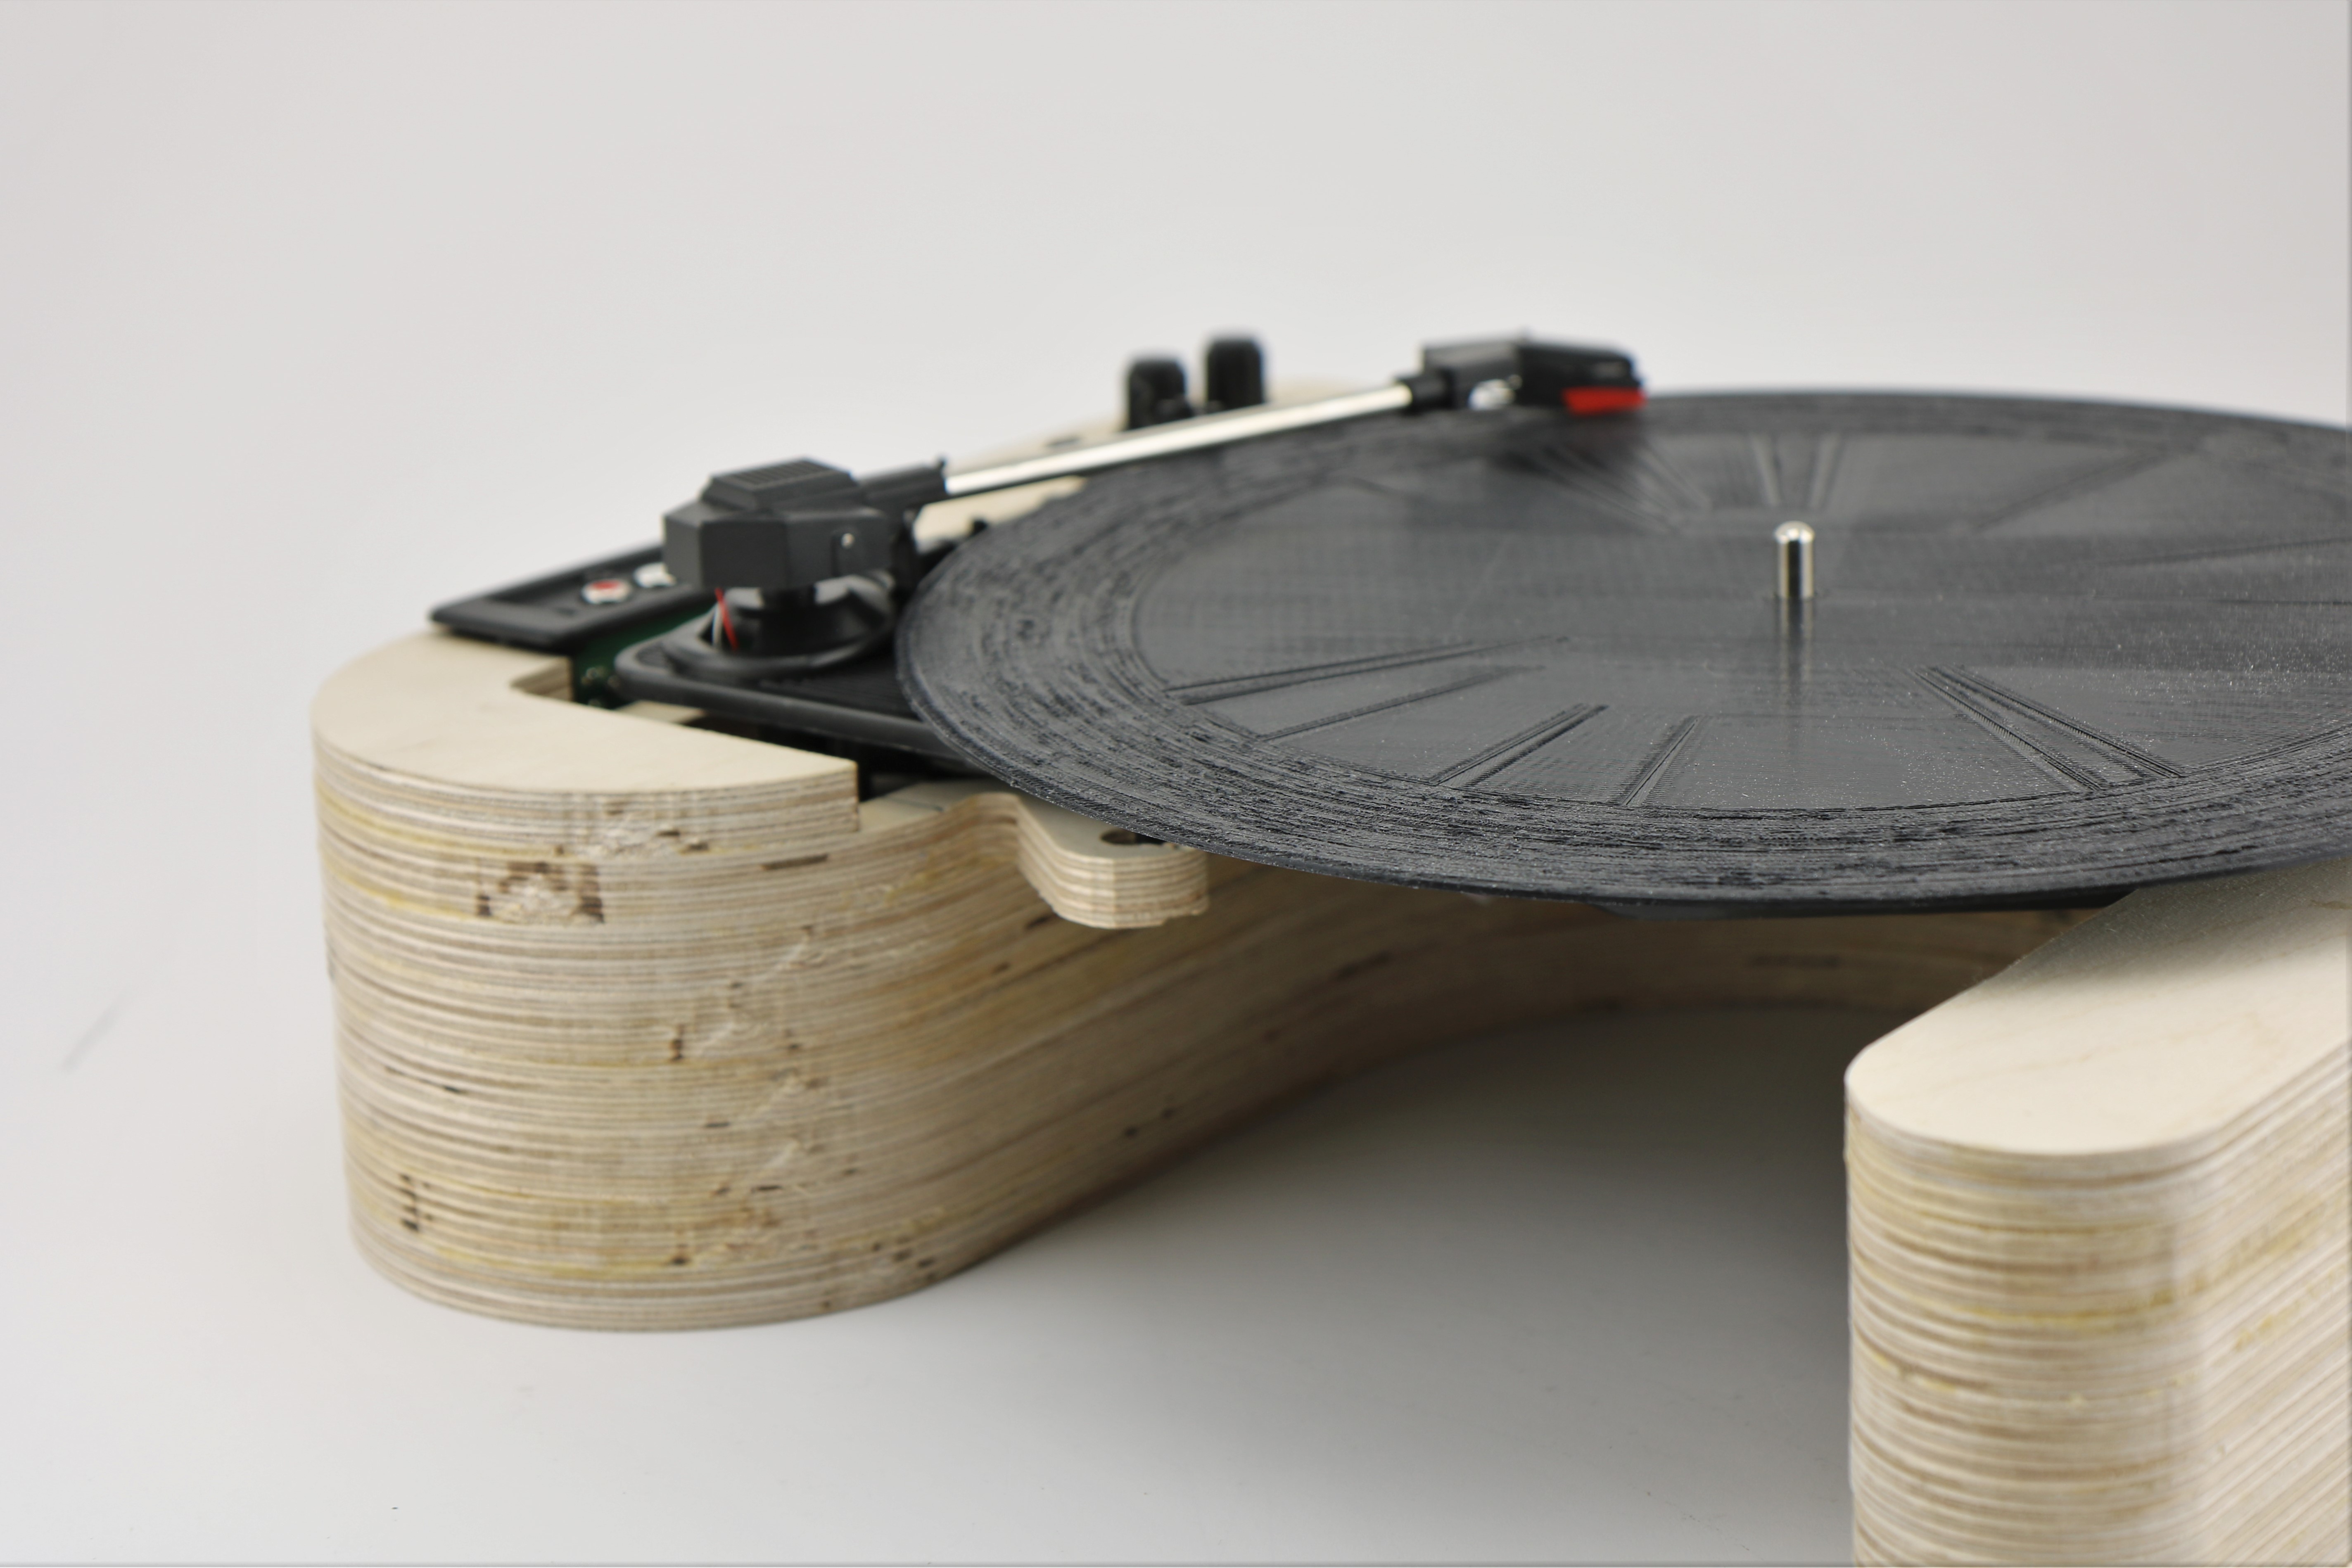
A 3D printed vinyl encoded with a journal entry written to my 11 year old self, with the ability to be played on a custom-built and designed record player.
“Would you be proud of me, if you saw me now?”
A 3D printed vinyl encoded with a journal entry written to my 11 year old self, with the ability to be played on a custom-built and designed record player.

Heirloom: Process
Overview
For the final of my digital fabrication course, we were given the prompt of “heirloom.” To begin brainstorming, I wrote down two questions to focus my thoughts.
I found myself fascinated by the idea of oral histories, and how they might evolve in the modern era. I decided to build a record player, and 3D print a custom record to play on it.
For the final of my digital fabrication course, we were given the prompt of “heirloom.” To begin brainstorming, I wrote down two questions to focus my thoughts.
“What will become an heirloom for our generation?”
“How does it relate to our (digital) cultural zeitgeist?”
I found myself fascinated by the idea of oral histories, and how they might evolve in the modern era. I decided to build a record player, and 3D print a custom record to play on it.
Record: Audio
I recorded myself reading out a diary entry from when I was eighteen, a letter to my younger self, asking the question “Would you be proud of me, if you saw me now?” I made minor edits to the audio file in Adobe Audition, to increase the likelihood my voice would be comprehensible when played from a record.
Using a program provided by Amanda Ghassaei, I was able to generate a 3D model of a 12 inch, 45 RPM record with grooves generated based on my sound file. My first print attempt used a large, low fidelity extrusion printer, which was unable to replicate the necessary level of detail. For my second attempt, I instead used a smaller Stratasys Polyjet J750 printer to achieve a higher fidelity print. In order to use the 10 inch printer, I modified Ghassaei’s code to produce a 7inch record playable at 33 RPM. I used Magics to repair the errors in the model before sending it off to print.
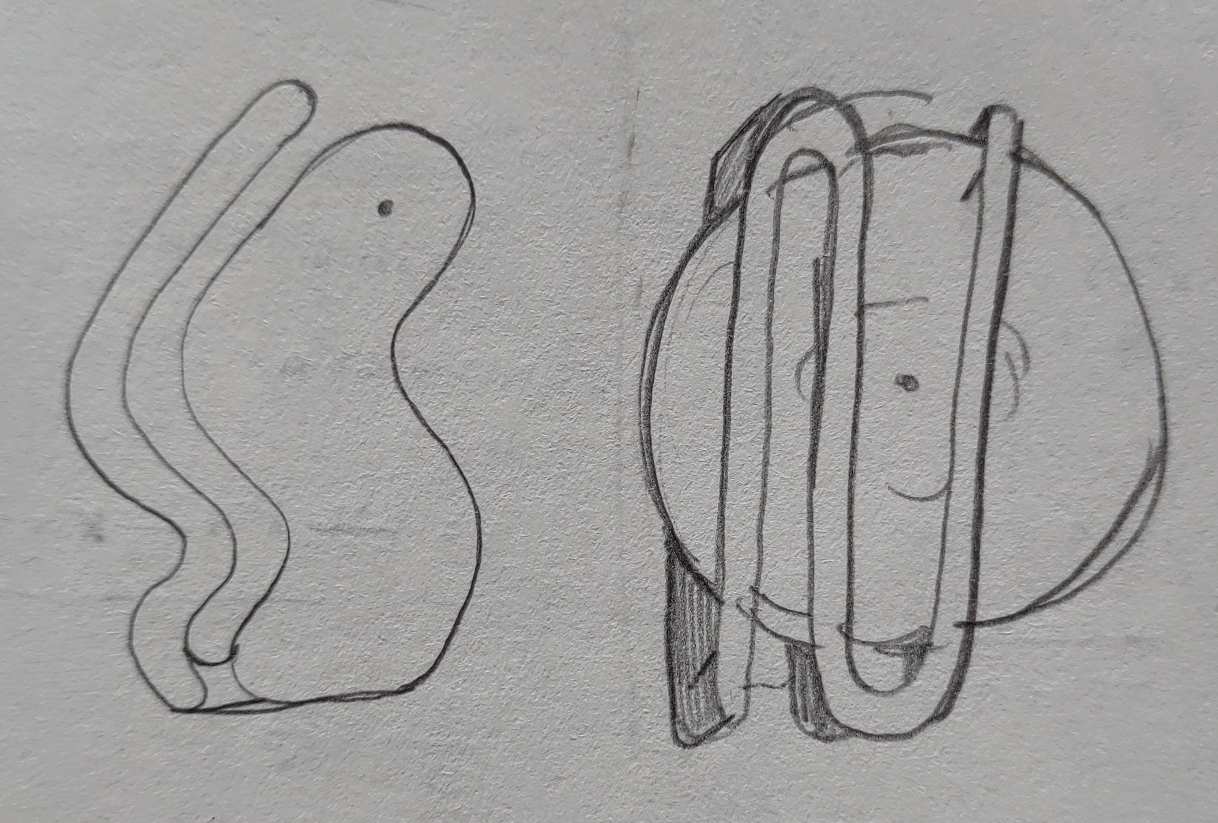
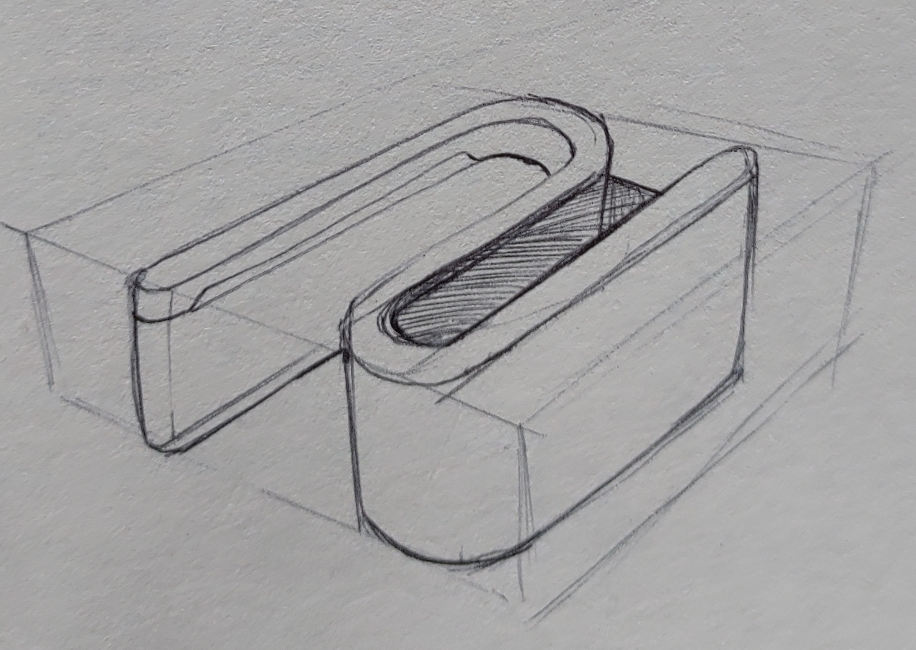
Record Player Ideation
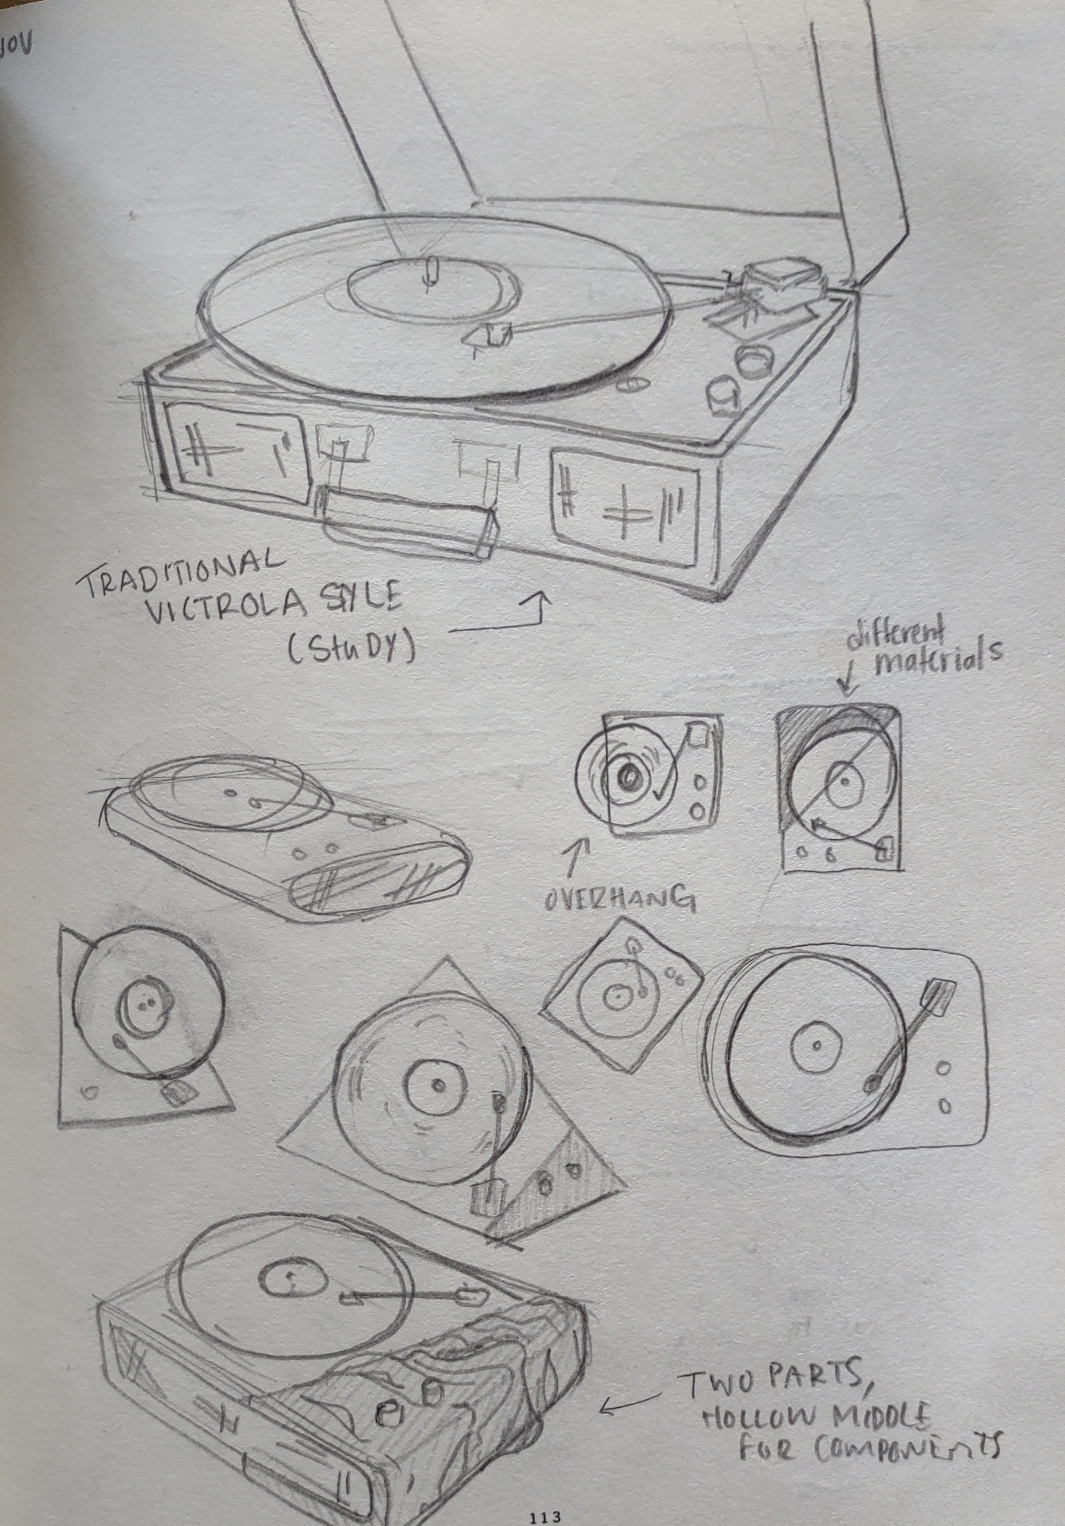
I found it difficult to break away from the standard “box” conception of what a record player should look like in a way that would still be possible to fabricate. Eventually, I settled on a curved ‘s’ shape, with the intention of concealing the internal components and speaker inside one of the curves.
I found it difficult to break away from the standard “box” conception of what a record player should look like in a way that would still be possible to fabricate. Eventually, I settled on a curved ‘s’ shape, with the intention of concealing the internal components and speaker inside one of the curves.
Creating Files for the CNC
I purchased a cheap record player from Ebay to strip parts from, so that I could make my own functional record player simply by building a new casing. I took measurements of its speakers and turntable, and used them to create a to-scale 3D model of my record player’s casing. I used this model to prepare 8 parts to be printed on the CNC machine.
I purchased a cheap record player from Ebay to strip parts from, so that I could make my own functional record player simply by building a new casing. I took measurements of its speakers and turntable, and used them to create a to-scale 3D model of my record player’s casing. I used this model to prepare 8 parts to be printed on the CNC machine.
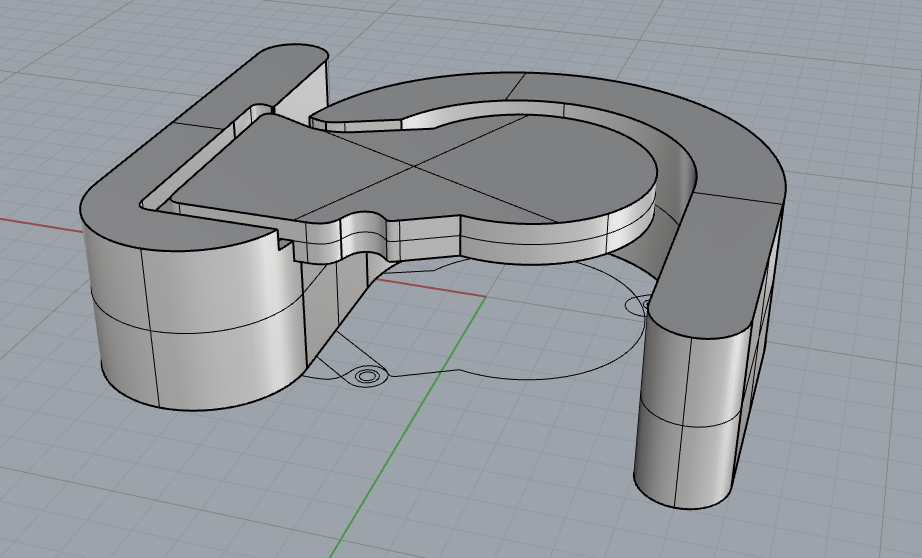
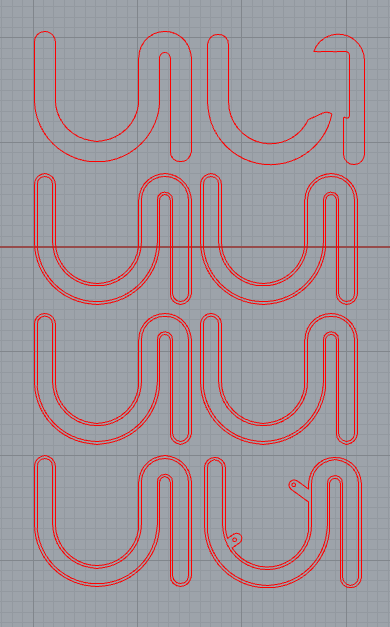
Building My Record Player
After supervising the printing of my CNC files, I took my parts to the wood shop and began constructing the casing of my record player. I drilled holes in the wood piece that would become the second layer of the record player in preparation for rewiring the turntable and speakers. I glued each layer together, let it sit to dry, and sanded away the excess. I then added the parts taken from the record player I purchased.
After supervising the printing of my CNC files, I took my parts to the wood shop and began constructing the casing of my record player. I drilled holes in the wood piece that would become the second layer of the record player in preparation for rewiring the turntable and speakers. I glued each layer together, let it sit to dry, and sanded away the excess. I then added the parts taken from the record player I purchased.