Digital Fabrication
Technique: 3D printing
3D Printed Figurine
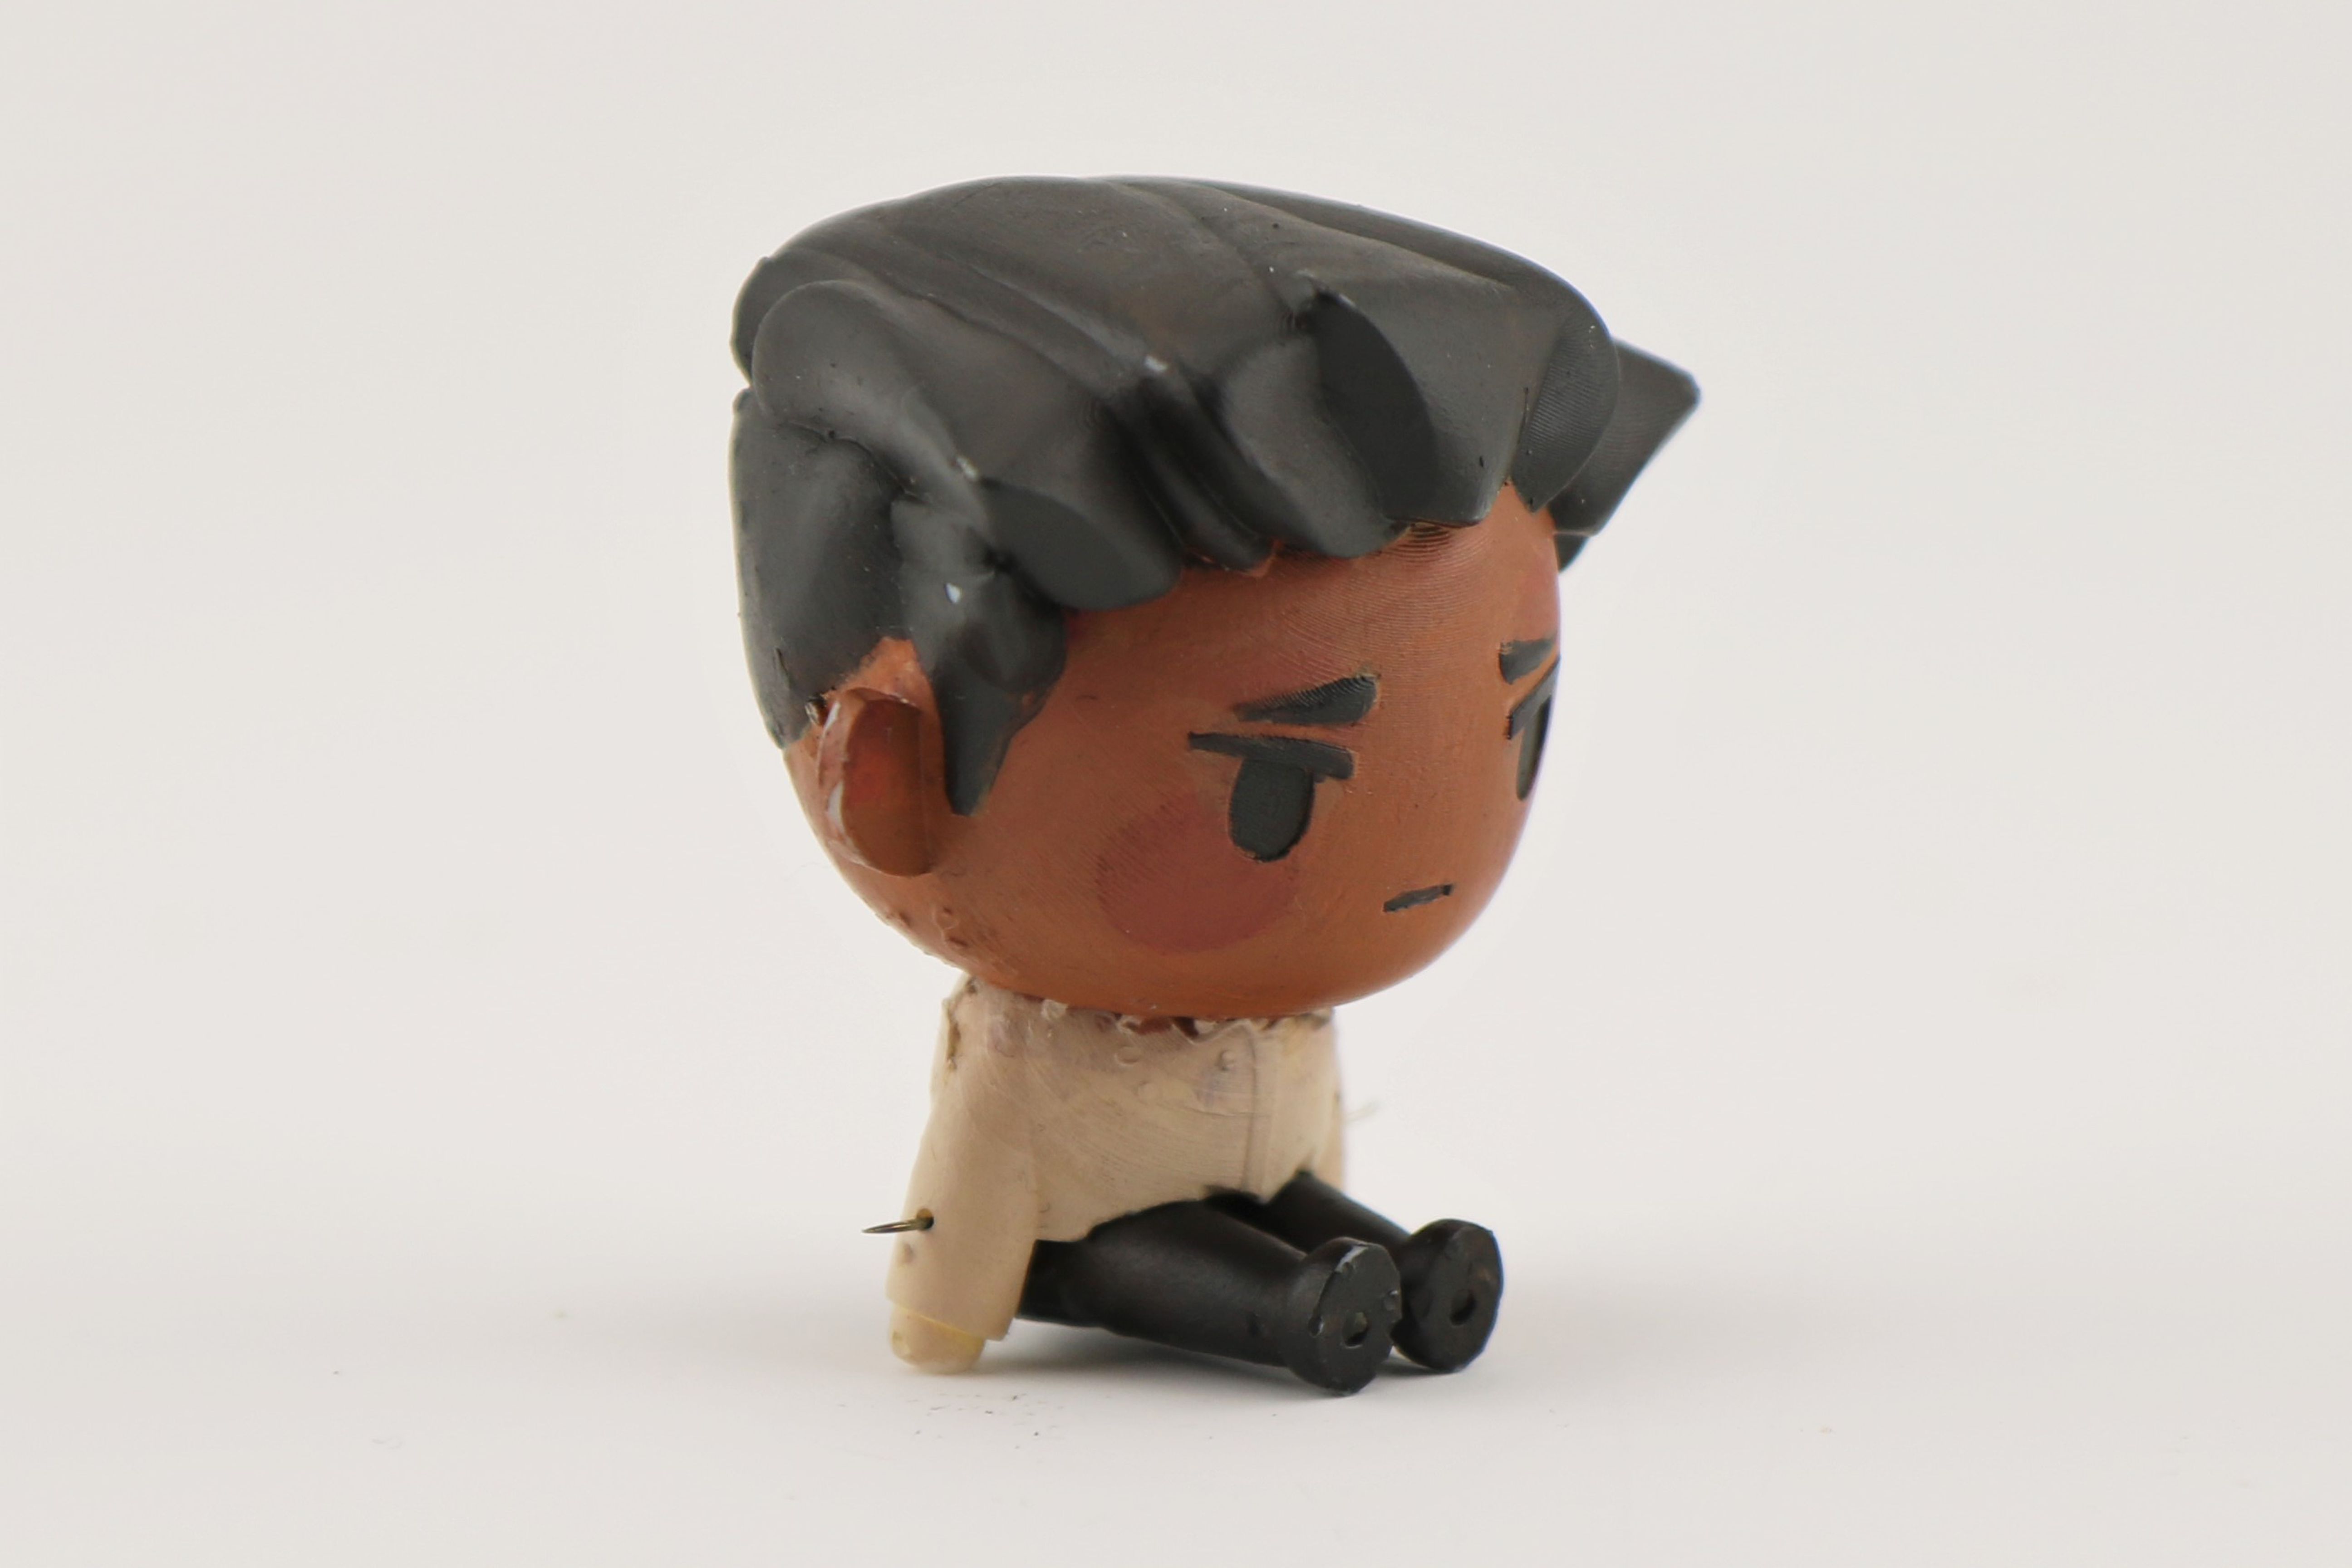
A 3D printed resin figurine with a ball and socket joint. Modeled in Rhino 7 and hand painted
A 3D printed resin figurine with a ball and socket joint. Modeled in Rhino 7 and hand painted



Jointed Figurine: Process
Overview
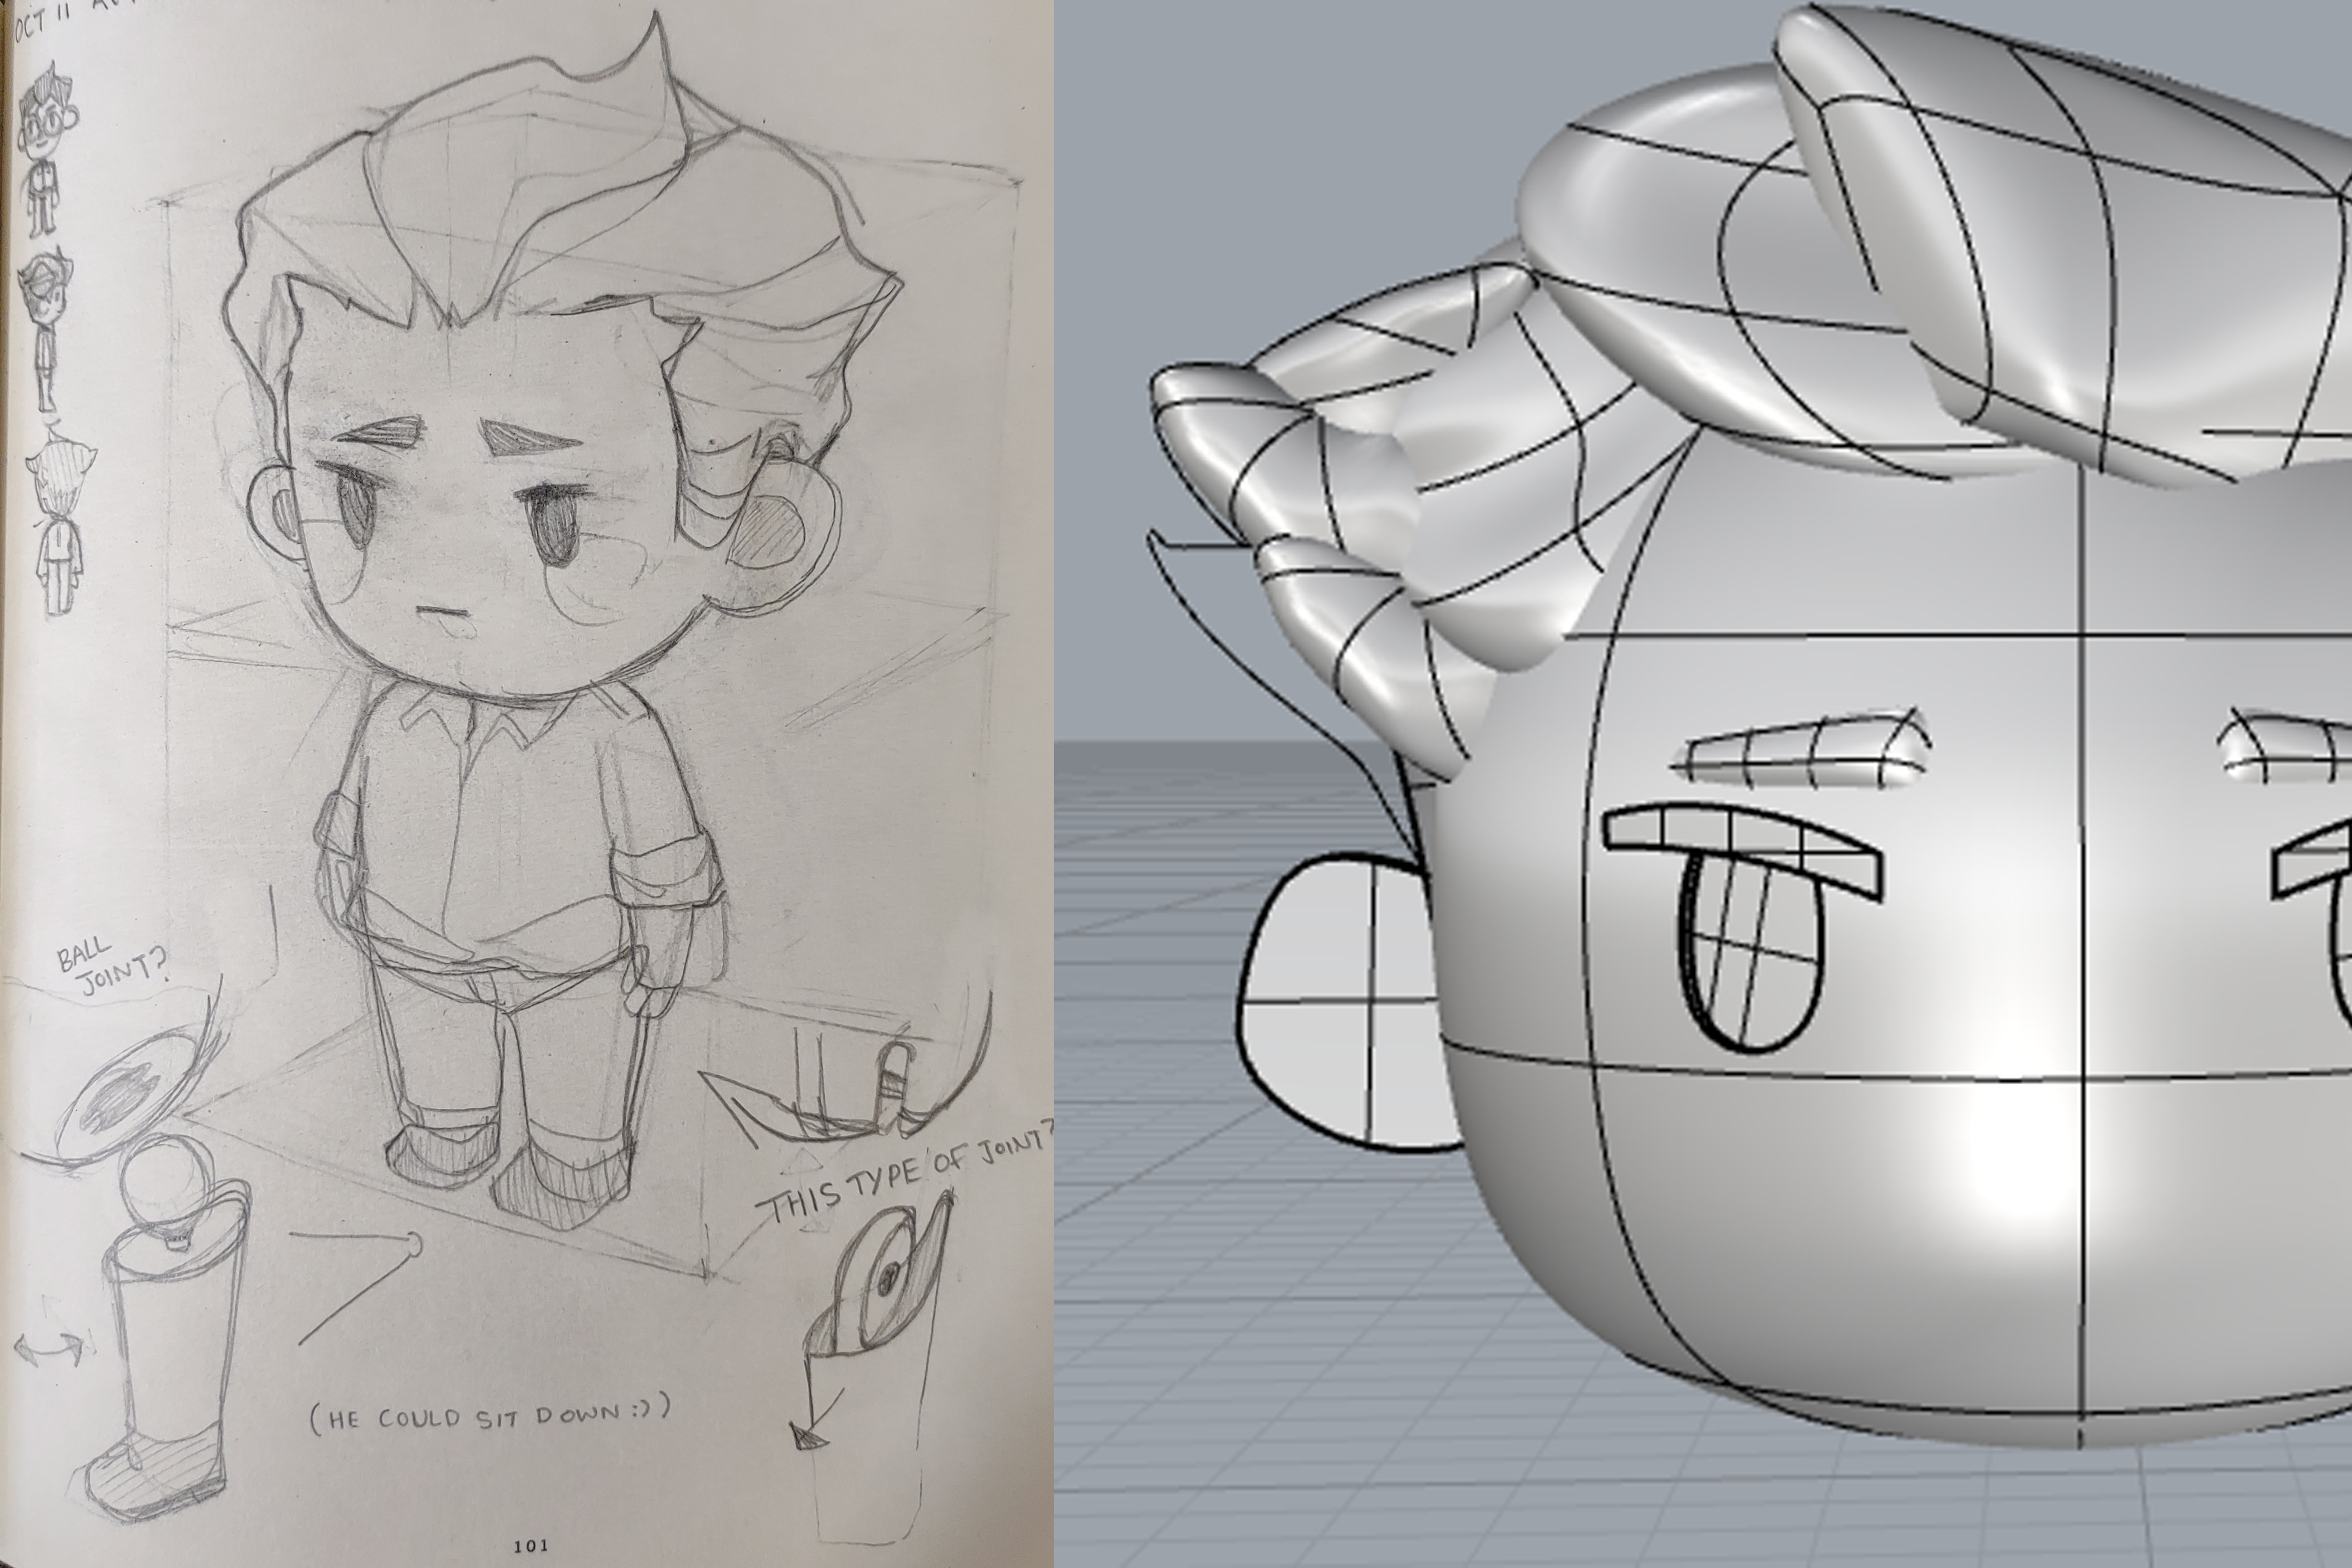
Going into the project, I had a clear idea of my goal - to make a jointed action figure of my character Julien. I began by simplifying his design, focusing on creating and defining appealing three-dimensional forms.
Going into the project, I had a clear idea of my goal - to make a jointed action figure of my character Julien. I began by simplifying his design, focusing on creating and defining appealing three-dimensional forms.
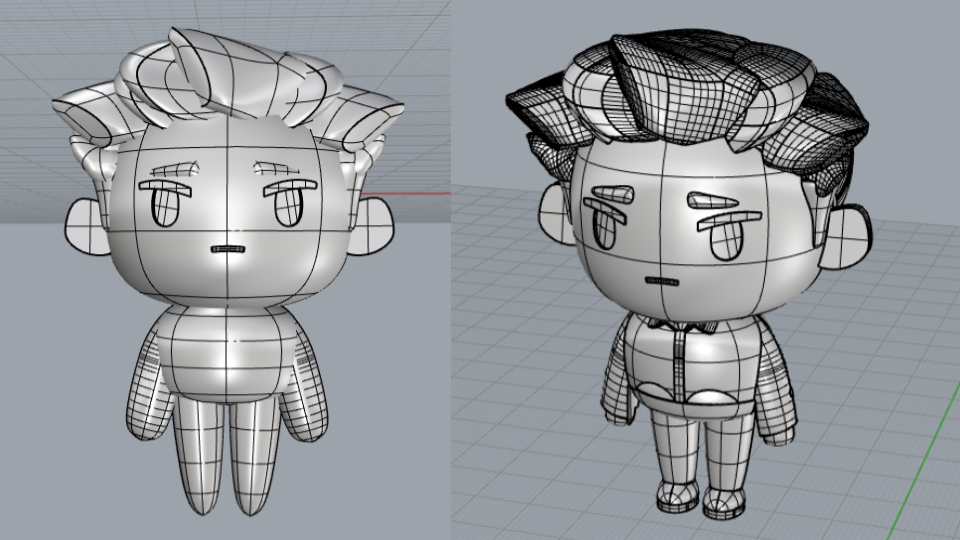
Progress on the 3D model
I found it overwhelming to approach modelling the hair, as it was certainly the most complex thing I had attempted in Rhino up until this point. One approach I found helpful was drawing the outline of the silhouette of the hair with the line tool and filling out the volume using SubD chunks. By tweaking the SubD chunks, I was able to create organic and appealing shapes.
I found it overwhelming to approach modelling the hair, as it was certainly the most complex thing I had attempted in Rhino up until this point. One approach I found helpful was drawing the outline of the silhouette of the hair with the line tool and filling out the volume using SubD chunks. By tweaking the SubD chunks, I was able to create organic and appealing shapes.
Printing
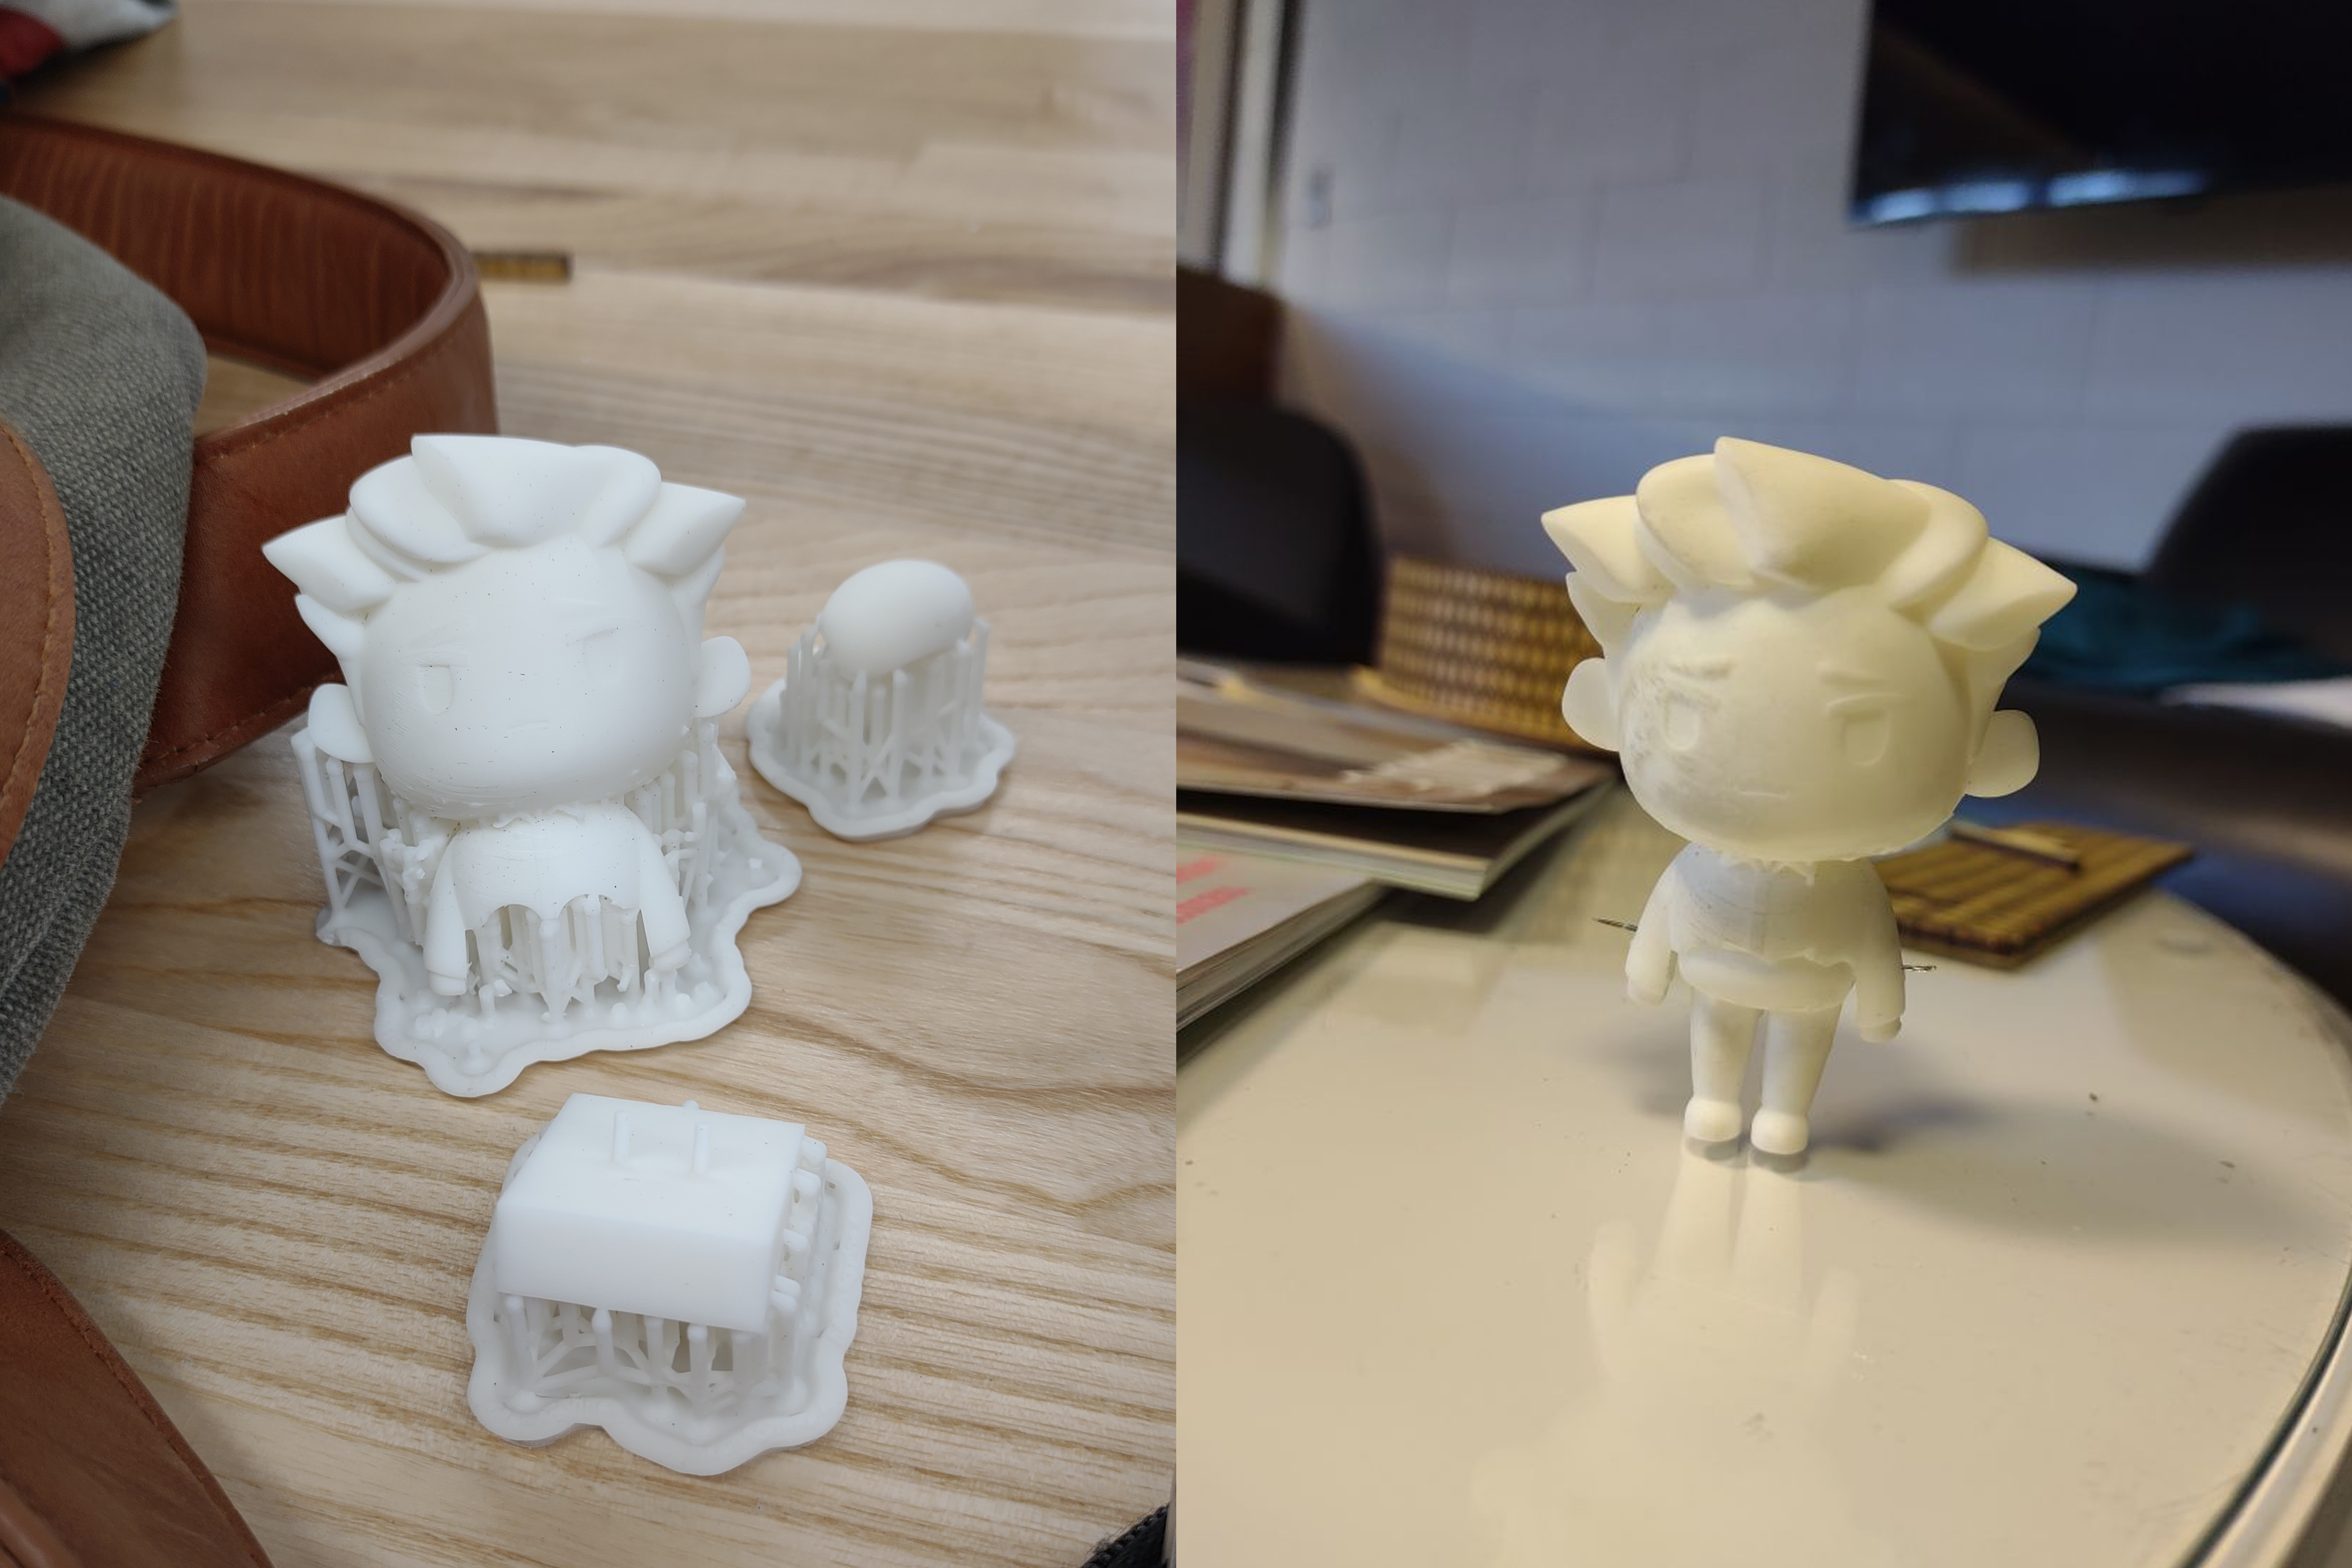
My first print on the Formlabs SLA 3D printer was fragile, and broke when I tried to remove its supports. I had not hollowed out the model and therefore it printed smaller than intended.
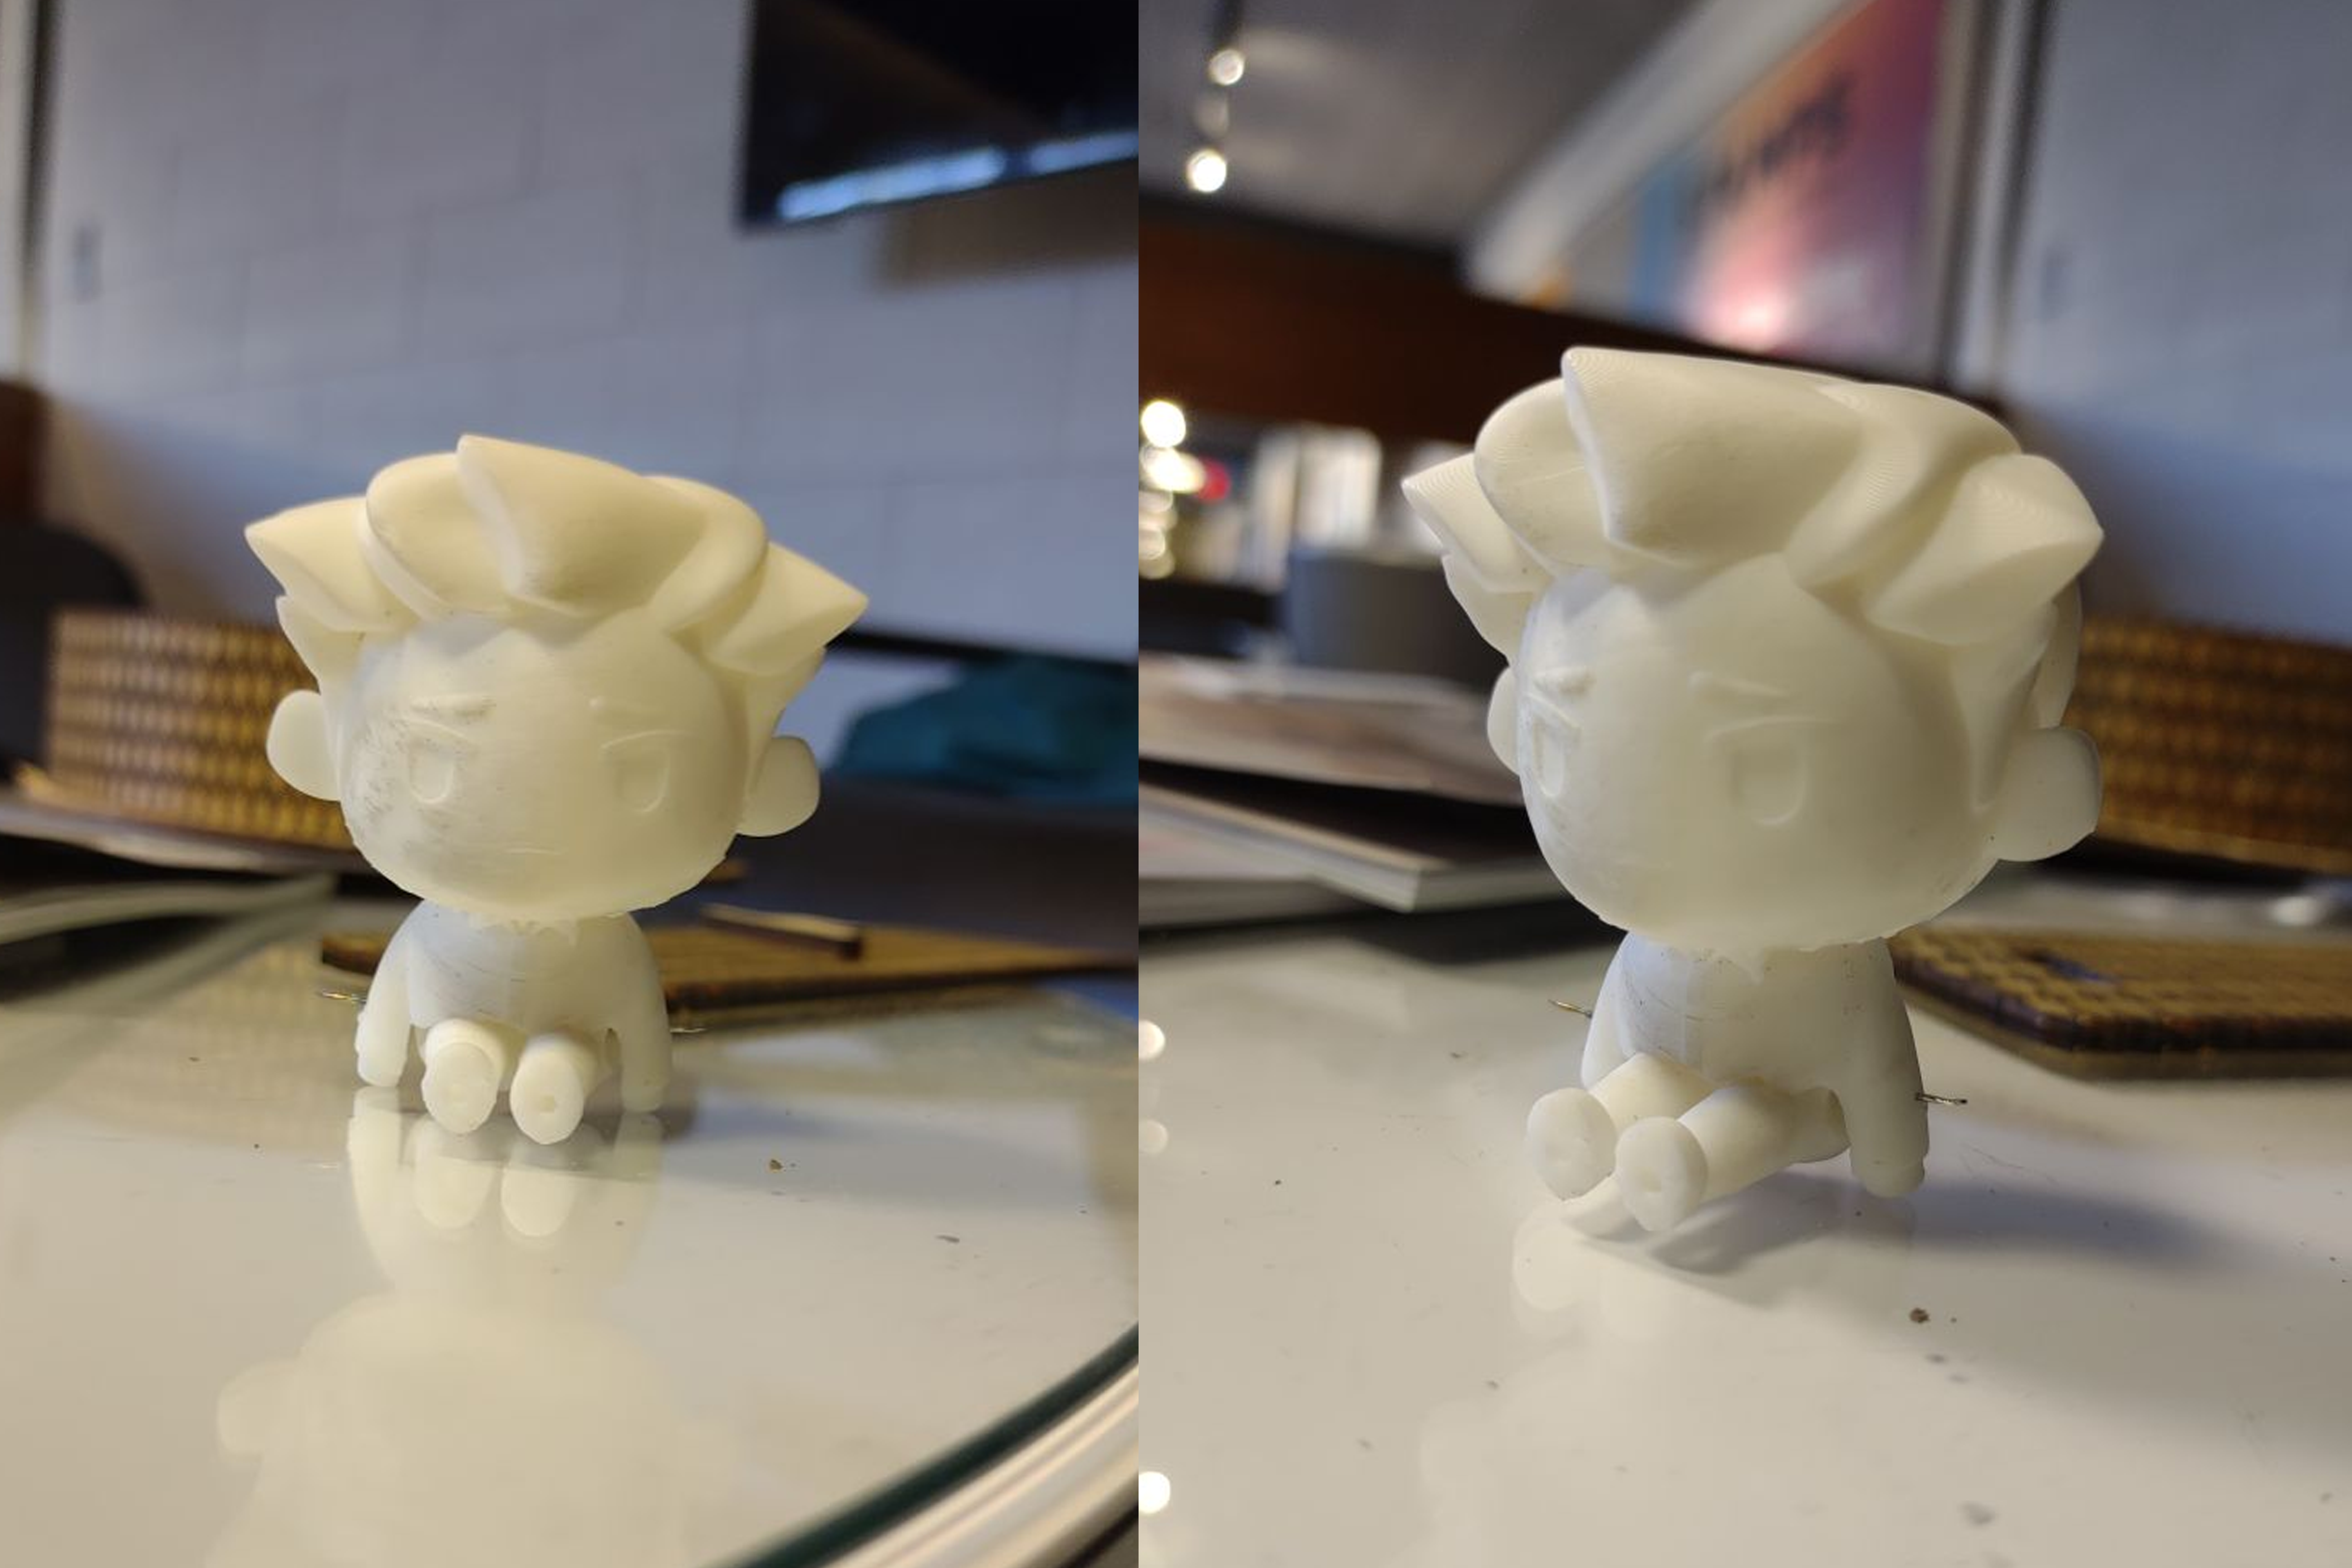
Before printing again, I edited the 3D model to strengthen the areas which had fractured on my previous attempt. I also used MeshMixer to hollow out the mould, leaving the walls relatively thick. The second print was much more sturdy, although it still chipped in places when I removed the supports.
The axel I printed immediately broke both times when removing supports because it was too thin. In the end I used a sewing pin in its place.
Final thoughts
I finished the model with acrylic paint, which was not as opaque or even as I had hoped it would be. If I were to create a higher fidelity prototype of this figurine in the future, I would invest in model paint, particularly because the paint around the joint wore away very quickly. Furthermore, Even though I sanded the model thoroughly, it was difficult to remove all the bumps from supports, especially as some of them left little divots on the surface.
I’m particularly proud that the model is able to both stand and sit without support. I had originally printed a stand with pins that the figurine’s feet slid on to, but found I didn’t need it.
